


What’s New in Caddie 23
Your quick guide to the new and enhanced functionality available in Caddie 23
Our appreciation goes to all the users that forward their suggestions and requests to us.
This contributes greatly to the functionality and ease of use of Caddie.
Please email your requests and suggestions to This email address is being protected from spambots. You need JavaScript enabled to view it.
Here are some of the new and enhanced features in Caddie 23:
Migrate Settings: After installation of Caddie 23 the Migrate Settings will run at start up,
if the registry is migrated the first time start up dialogue will be skipped.
The migration will also migrate the application preference.
Reopen Latest Backups: New functionality has been added to automatically present you with,
and allow you to reload the latest backups of the drawings that were open if Caddie has shut
down due to a power failure etc.
New Status Bar Functionality: New Tooltips and Right-Click options for Status Bar Icons make
life much easier when configuring your Caddie working environment.
This ensures faster access to the settings you need.
New Scroll Functionality: The new Scroll Functionality on Sheet Tabs makes navigation a breeze.
Simply hold the mouse over a sheet tab and scroll the mouse wheel.
Enhanced Trim and Stretch Functionality: The Enhanced Trim Functionality enables reliable
trimming on geo-referenced drawings.
The Trim to Line function now allows AEC Walls to be trimmed.
The Stretch command now allows for stretching of multiple AEC Walls simultaneously.
UCS Start-up Warning: You can switch the UCS Start-up Check On or Off.
This will inform you in a dialogue if the UCS is not set to ‘World’ on opening a drawing.
Ensure that the warning is switched on when opening unknown drawings.
New Smart UCS: The new Smart UCS can automatically align the UCS to your working
plane while navigating your 3D model. Left-click on the UCS Icon to disable / enable it,
right-click on the UCS Icon on your Status Bar to set the Smart UCS delay time, in milliseconds.
Double Click Edit UCS: You can also enable/disable double click editing of the UCS by
right-clicking on the UCS Icon in the status bar. When moving the UCS, use the ‘M’ keyboard
key to access the full range of UCS tools.
A keyboard shortcut ‘W’ has been added to set the UCS to World (WCS).
Enhanced Selection: Select-by-rectangle now provides colour coding for Crossing or Inside to make
picking multiple objects faster and more accurate.
The colours can be set with Configure | Drag Settings | Selection Area Effect.
Show Command Line on the Pointer: Showing the Command Line on the Pointer is a great aid for
new users getting to know the Caddie environment. An abbreviated version of the text that appears
in the command line will be shown on the pointer when this is enabled.
Use the Configure | Environment Settings | Cursor to set the colour of the command line and to switch it on or off.
Mouseover Object Properties & Highlighting: The new functionality to control the Mouseover Object Properties
enables you to customise the specific properties you wish to display for each object.
You choose exactly what properties are shown for each object type.
Mouseover Object Highlighting makes it clear which is the nearest object – critical in many functions such as
trims and associative dimensioning. Use the Configure | Selected, Highlighted, Marked & Virtual Objects to
enable highlighting when commands are active and non-active and also to determine the highlight colour.
New Smart Snap Functionality: The Smart Snap will aid new, or infrequent users if they are unsure of which
snap mode to use. Caddie will automatically switch to a preferred snap mode if you pause for a pre-determined
time as you draw. Switch the Smart Snap on or off by clicking the Smart Snap Icon on the Status Bar.
Right-Click on the icon to set the Smart Snap delay time, in milliseconds.
PDF Underlay: Use File | Insert | Insert PDF Underlay command to insert a vector-based PDF, including
options for scaling, snap and zoom functionality. You can snap to vector points on the PDF using the PDF
Underlay Snap Mode.
Autosnap: The PDF Undelay Snap Mode has been added to the Autosnap dialogue. It will not snap to
scanned images, only vector-based PDFs.
The Extensions Snap Mode has also been added to allow you to snap to the extension of an object.
CSM - Autosnap Settings to set your Autosnap preference.
Blocks: Use the Modify | Blocks | Analyse Blocks to show the nested block structure in a drawing.
This simplifies the editing of nested blocks. Blocks can be placed at intervals on lines or polylines with
Modify | Lines / Polylines | Place Symbol at Intervals. You can also now choose to place Selected Items.
Another addition is the option to insert the symbol / block / selected item as blocks or exploded individual
items on the lines or polylines.
Notes and Reference Documents: Extended Data has been added to the Object Properties to enable
you to add Notes and Referenced Documents to objects.
Associative Dimensions: Dimension Associativity defines the relationship between geometric objects
and the dimensions that give their distance and angles. There are three types of associativity between
geometric objects and dimensions; Associative, Non Associative and Exploded.
The dimension associativity has been added to the dimension parameter set dialogue.
Use the Associative Dimensions to boost your productivity as the dimensions will automatically adjusted
their locations, orientations, and measurement values when the geometric objects associated with them
are modified.
The dimension associativity setting for NEW (non templated) drawings is controlled through the
Configure | Drawing Defaults dialogue.
You can set it to Exploded, Non Associative or Associative. The default is Associative.
Dimension align has been updated to allow you to select by fence, and a new dim align added for multiple
selected dimensions.
Text: Find / Replace Text has been enhanced to work across the model, all the sheets or only in selected sheets.
It can also search within all or selected blocks. Select the text, Right-Click CSM | Text | Find / Replace Text.
Text can now be justified. Select the text, Right-Click CSM | Text | Justify.
Automatic Text Boxes are now implemented. Text boxes are now a property of the text, and so
move/rotate/scale/copy etc. with the text. They can be switched on and off in Object Properties.
Associative Leaders: The leader arrowhead can be associated with a location on an object using an object snap.
If the object is relocated, the arrowhead remains attached to the object and the first segment of the leader line
adjusts, but the rest of the leader and any multiline text annotation remains in place.
CSM | Leaders | Reassociate can be used to re-associate an existing leader arrow to an object.
A new command has also been added to the CSM, Leader | Add Text to an existing leader.
The leader text can also be added or edited on the Object Properties dialogue.
AEC Dimension Groups: AEC Dimension Groups are groups of associative annotation objects used to display
the measurements of a building or other linework object. The appearance of dimensions is controlled through
AEC Dimension Styles and can be adjusted for different drawing views or specific drawing standards.
For AEC objects select the AEC object you wish to dimension, right-click Add AEC Dimensions on the CSM
to insert a new AEC Dimension. For linework objects choose Annotate | AEC Dimension.
To change the appearance of the dimensions, select the AEC Dimension, right-click and choose Edit AEC
Dimension Style. The AEC Dimension Style determines the number of chains, points dimensioned, Caddie
dimension style, length of extension lines and display properties.
The AEC Dimension is intelligent in so far as when items are changed, added and removed the dimension
group is automatically updated.
Please note that the standard Caddie dimension style is simply one of the settings of the AEC Dimension Style.
For ease of use, the Synchronise AEC Dim Styles option was added to the Dimension Parameter Settings
dialogue. You can change the AEC dimension style in the Object Properties dialogue.
AEC Mass Elements: The majority of the 3D primitives such as Cylinder, Box, Cone, Pyramid etc. can be
inserted as Mass elements allowing easy control of size and other properties via the Object Properties dialogue.
AEC Corner Windows: The AEC Corner Window function has been added, it now includes options for a mullion
or butt glazing at the corner.
AEC Doors: An Anchor Tab has been added to the AEC doors dialogue to locate doors accurately within the
depth of walls at creation time rather than having to change it after insertion.
Textures: You can now add textures to your Catalogue for simple drag and drop editing of finishes on your
models. Including user defined textures in models has been simplified and now textures are automatically
found and included as long as they are placed within the textures folder of sub folders.
For those wanting ultimate control of their high quality renders, an ‘Advanced Properties’ button on the
material edit dialogue gives access to every imaginable render property. An additional option on the
materials dialogue allows previewing and control of how textures mate at model edges.
Mech 3D Pipes: 3D pipes, allowing control of diameter and bend radius have been added to the Mechanical Application.
Apps | Mechanical | Mech Draw | 3D Pipe.
Run Command by ID: The Utilities | System | Run Command by ID now has a dialogue and retains a list
of the previously run commands.
Layer States: The Manage | Layer States Command extends the functionality of layer groups to a new level.
Not only can layers be switched on and off but their Colour, Linestyle, Lineweight and other properties can
be changed at will.
Catalogue: Tools can be reordered within palettes by simply dragging and dropping. Caddie 23 now comes
complete with well over 100 tool palettes covering most aspects of general drawing and modelling saving the
user the task of having to create their own 2D and 3D symbols. A few palettes are preloaded and shown,
others are loaded but hidden and can simply be shown using the Show Palette function.
The remainder can be enabled with the Add Palette function. Scrolling between palettes can now be done
by simply holding the mouse over the palette tab and scrolling the mouse wheel, saving many mouse clicks
and time when the user has many palettes shown.
Windows 10 updates influencing device drivers:
Windows 10, by default, downloads and installs updates automatically on a regular basis. As part of the updating
process it determines whether it considers all drivers to be the latest versions and if not it downloads and installs
them. If it installs a driver that is not compatible with your hardware, you then have an issue. This is typically what
happens with respect to graphics drivers, printer drivers and occasionally USB ports.
The situation is far from ideal for end users and developers in graphic intensive applications. End users are wasting
a lot of time and the burden on support teams is huge, trying to help end users with an issue that is completely out
of their control. As a company, we are part of a consortium of developers which has members from the majority of
well-known CAD companies and I know they are sharing the same frustrations with their clients as ourselves.
Caddie, or no other CAD system, can directly prevent Windows from performing automatic updates so we cannot
address the issue from that angle. We have put a significant amount of time into development in Caddie 23 for
monitoring changes to the graphics drivers such that we can alert the user that a driver has been changed. Whilst
this won't solve the problem, it will enable your IT support team to identify and confirm a problem more easily.
Most of the issues relate to graphics cards, but the same applies to the other drivers.
There are two main reasons why an incompatible driver is installed. Firstly, and the most frequent cause is that
Windows 10 has been installed on a computer which has a graphics card which is not Windows 10 compliant.
Thus neither Microsoft nor the graphics card manufacturer produce a fully compatible Driver. In this case the
update installs a generic driver which has limited functionality and is typically very slow in graphics applications.
The second reason is that for some reason, the update believes that its own chosen driver is better or newer than
the one in use, obtained from the graphics manufacturer. In this case it replaces it causing the same effect.
As to how you can prevent this happening, it depends on the cause:
If your graphics card is not Windows 10 compliant then ultimately the only two solutions are to revert back to a
version of Windows that was compatible with your graphics card, or replace the graphics card with one that is
Windows 10 compliant.
If your graphics card is Windows 10 compliant, your hardware support personnel can monitor the driver sources
directly from the manufacturer and ensure that the latest one is always installed, thus limiting the chances that
the Windows update will detect it has a newer driver.
There are a range of techniques that can be used to prevent or defer automatic updates depending on your
infrastructure but none are ideal.
If the Windows 10 updates cause constant disruptions, you might consider to temporarily prevent a driver update
from reinstalling in Windows 10 – Visit Microsoft:
https://support.microsoft.com/en-us/help/3073930/how-to-temporarily-prevent-a-driver-update-from-reinstalling-in-window
Concurrently there is a lot of pressure being put upon Microsoft to change their technique and policy of automatic updating.
This is beyond our control so we all have to wait and see what fruit this bears.
Useful Links
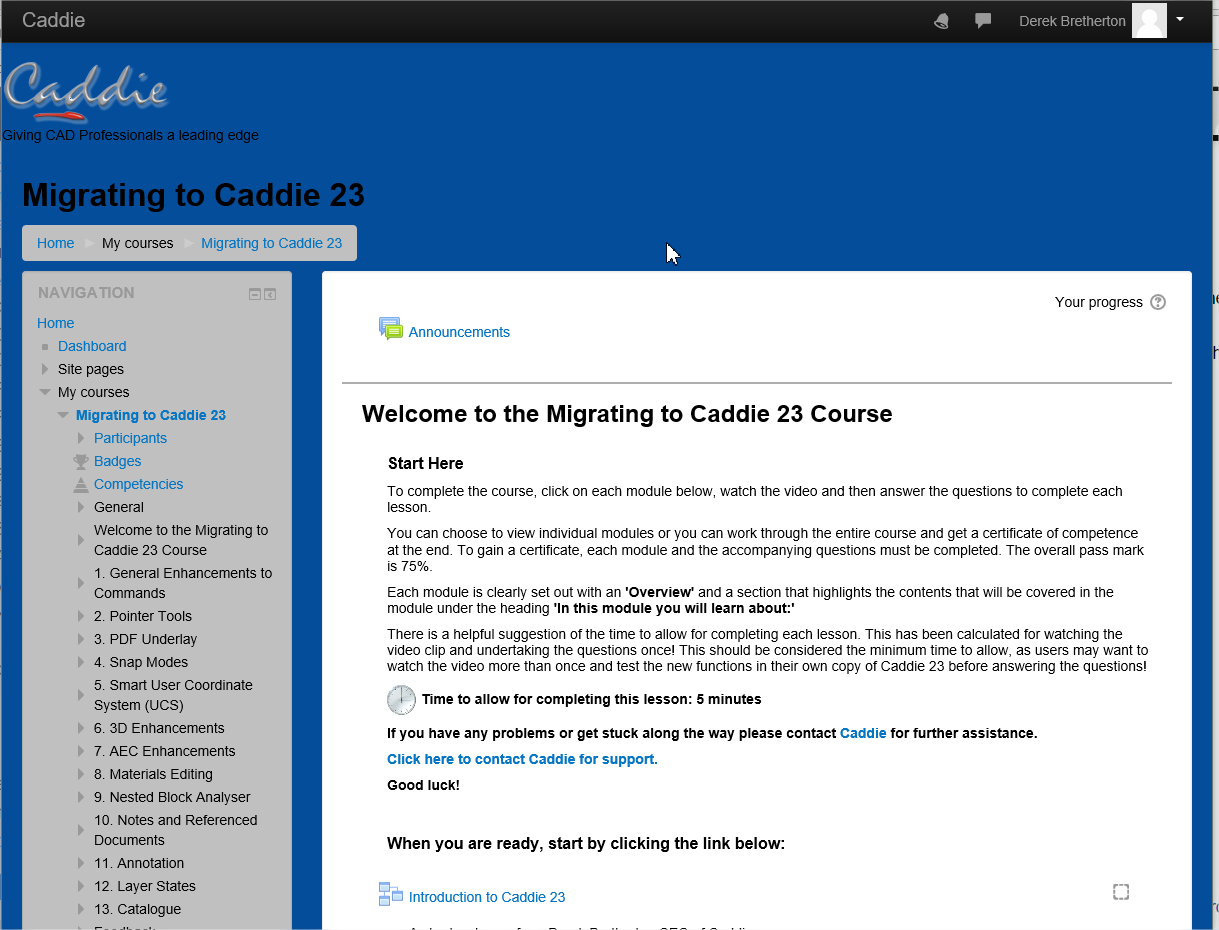
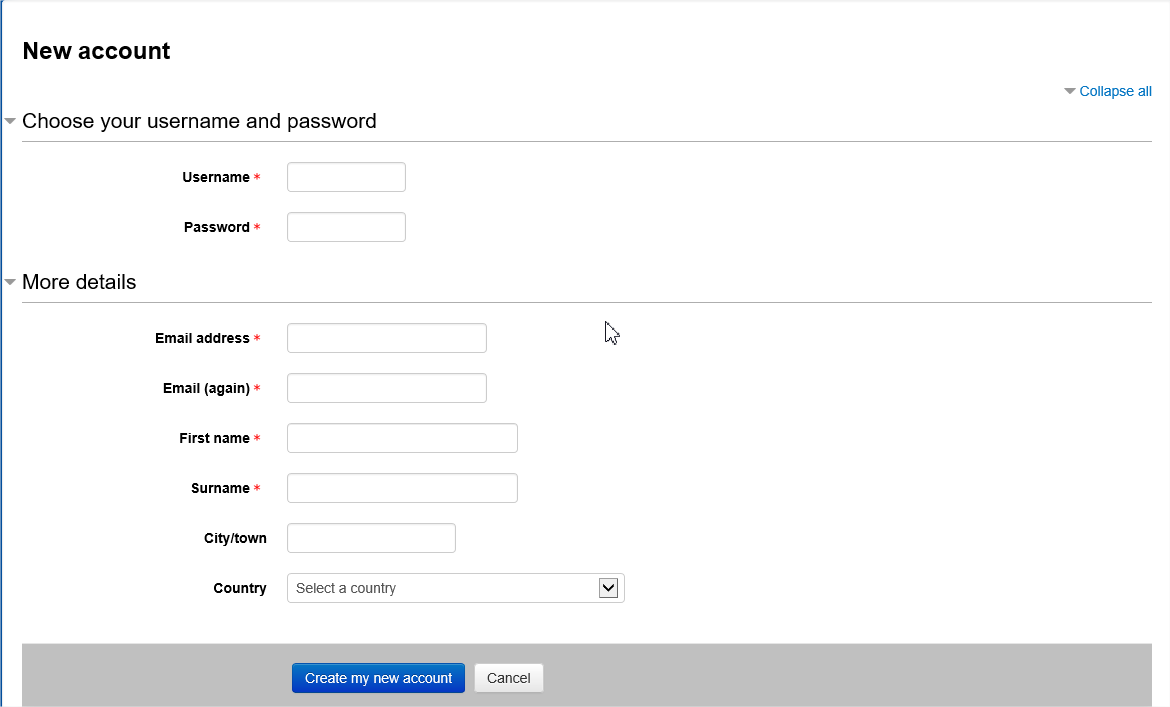
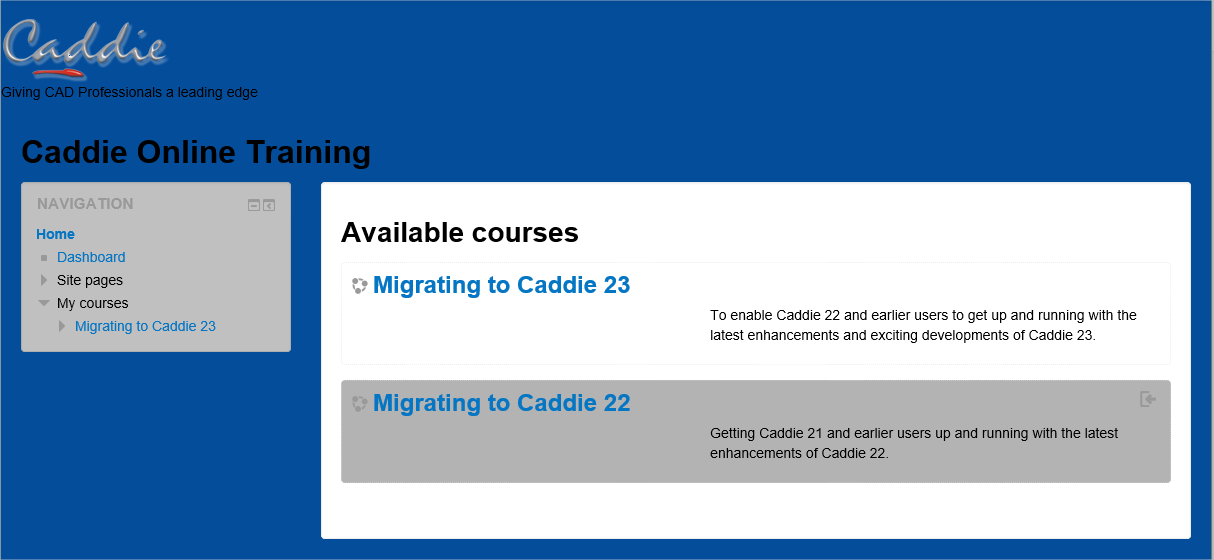
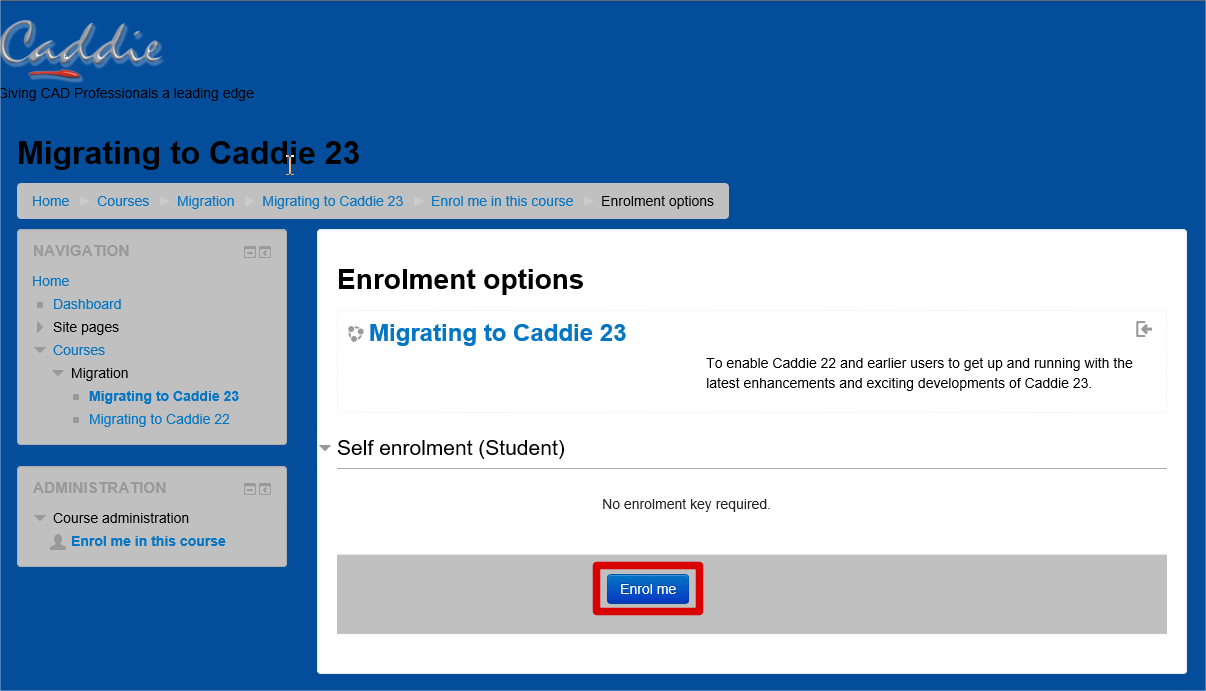
Caddie Online Training
http://learning.caddiesoftware.com/
Goto Caddie 23 Downloads...
https//www.caddiesoftware.com/index.php/download/viewcategory/3-current-version/